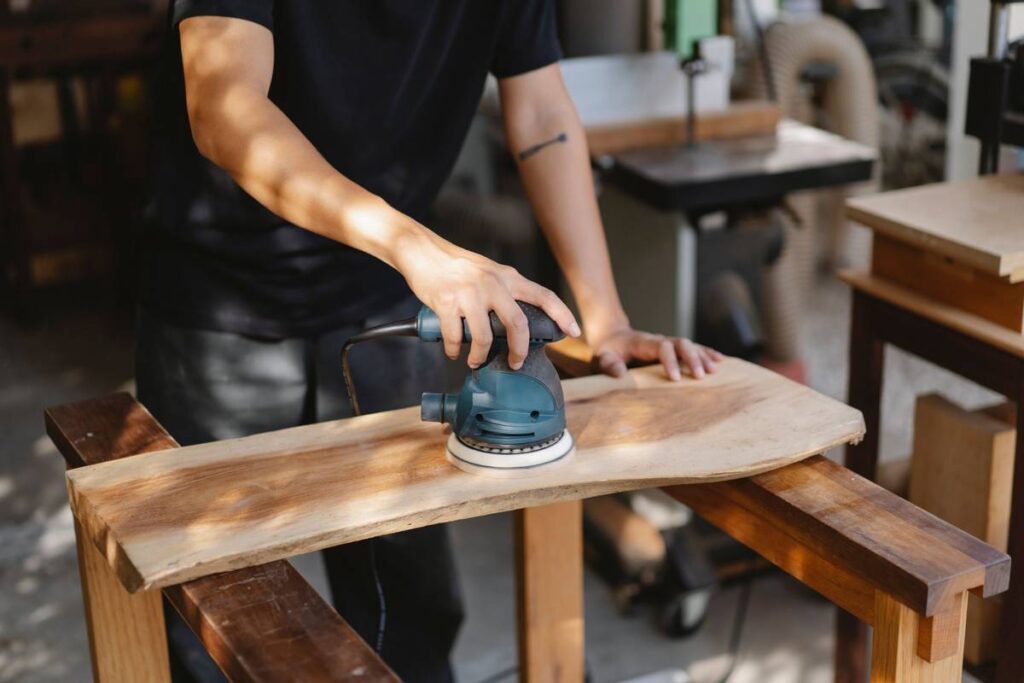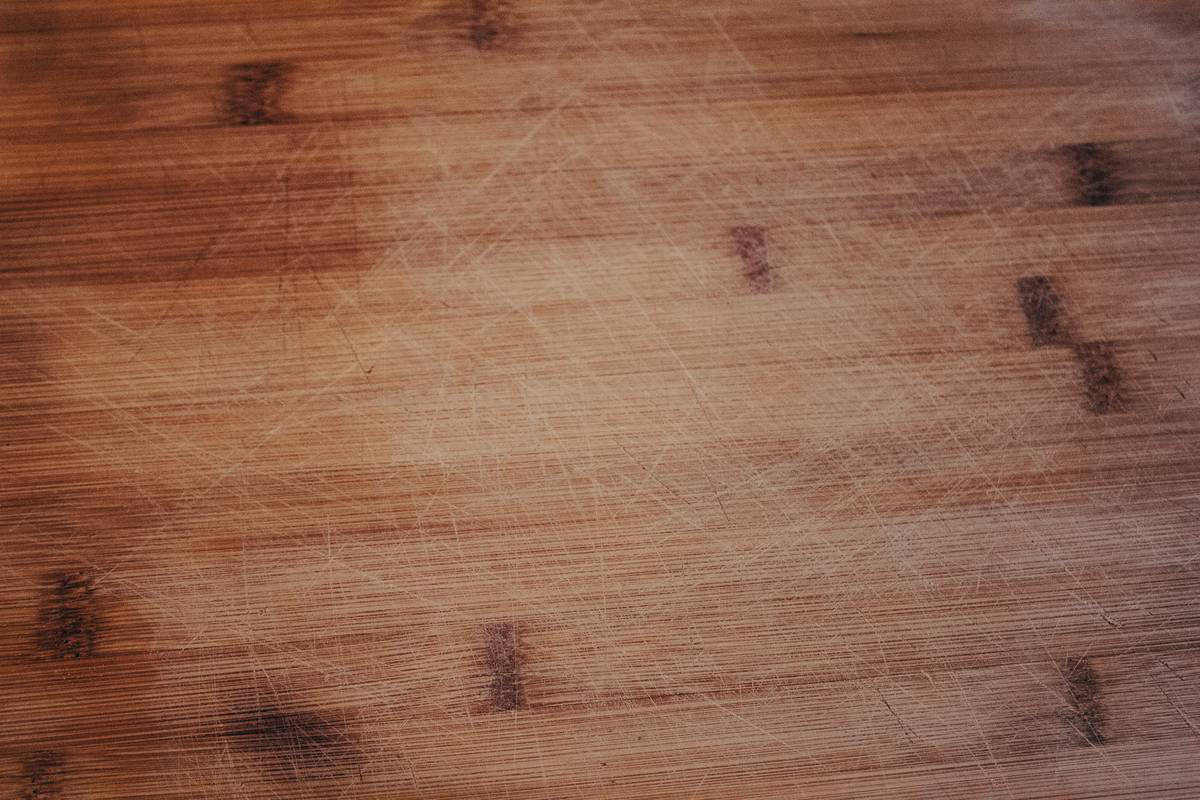
Ever spent 45 minutes sanding a pine tabletop—only to find wavy, uneven patches and a weird fuzzy halo where the sander “skipped” at the edge? I did. Last spring, I grabbed my orbital sander, cranked it to max speed, and confidently attacked a reclaimed oak cabinet door… only to discover three deep swirls that no finish could hide. Turns out, sanding wood with a handheld sander isn’t just about pressing and moving—it’s physics, pressure control, and patience disguised as grunt work.
This guide cuts through the noise. You’ll learn how to sand wood with a handheld sander like a seasoned DIYer—not just what grit to use (though we cover that), but why grain direction matters mid-sand, when to ditch the pad for hand-sanding the final ⅛ inch, and how to spot your machine’s “sweet spot” before you ruin your third board. We focus exclusively on orbital sanders—the kind in every garage, workshop, and weekend-warrior’s tool belt—because they’re versatile, affordable, and wildly misunderstood.
Table of Contents
- Why Sanding Wood with a Handheld Sander Is Harder Than It Looks
- Step-by-Step Guide to Flawless Orbital Sanding
- 6 Pro Tips You Won’t Find in the Manual
- Real Results: How One DIYer Fixed 12 Feet of MDF Trim in Under 90 Minutes
- FAQs About Sanding Wood with a Handheld Sander
Why Sanding Wood with a Handheld Sander Is Harder Than It Looks
Here’s the uncomfortable truth: most people don’t fail because they lack tools—they fail because they treat orbital sanding like a race. Speed ≠ smoothness. In fact, pushing too hard or moving too fast causes heat buildup, which melts wood resins and creates stubborn “ghost lines” that reappear under stain. According to the U.S. Forest Products Laboratory, softwoods like pine and poplar compress up to 22% more than hardwoods under identical pressure—a key reason why beginners see ripples on pine but not maple.
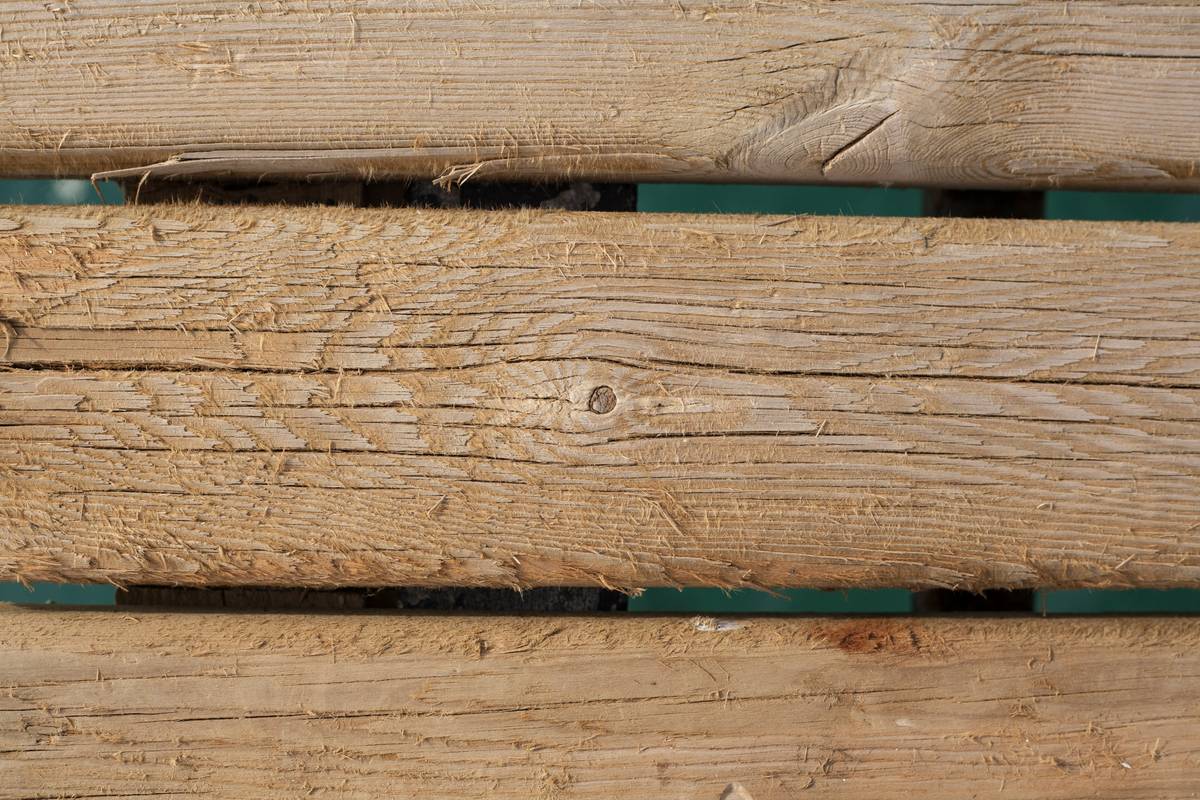
And yes—dust is part of the problem. Without adequate extraction, fine particles clog the abrasive paper in seconds and create micro-scratches. That’s why modern orbital sanders pair best with HEPA-filtered vacuums, not just shop brooms. If your sander lacks a port or your vacuum hose kinks every 30 seconds, you’re fighting invisible friction—and losing ground before you begin.
Step-by-Step Guide to Flawless Orbital Sanding
1. Prep Your Surface and Yourself
Wipe wood clean with a tack cloth—not just a dry rag. Oil, wax, or even fingerprints can repel finish later. Wear safety glasses and an N95 mask (orbital sanding produces ultrafine respirable dust, per OSHA guidelines). Clamp your piece securely; never hold it by hand while sanding.
2. Start Low, Go Slow (Grit Strategy)
Begin with 80-grit for bare, rough wood. Move to 120-grit once surface is uniformly flat—not after a set time. Then jump to 180-grit for prep before staining or painting. Skip grits (e.g., from 80 straight to 180) and you’ll leave deep scratches that 180-grit can’t erase.
3. Motion Matters More Than Machine
Let the sander float—don’t press down. Use light, consistent pressure (about the weight of your forearm, not your whole body). Overlap each pass by 50%, and move parallel to the grain first, then diagonal, then with-grain for final smoothing. This eliminates cross-hatch marks.
4. Inspect Between Grits
Shine a work light at a 45° angle. Any shadows or dull patches mean uneven removal. Stop, clean, check your pad for clogging, and resand only the affected area—don’t go full-board again unless necessary.
6 Pro Tips You Won’t Find in the Manual
- Flip the pad every 10 minutes. Heat builds quickly, especially on softer plywood edges—flipping redistributes wear and keeps cutting power sharp.
- Use a pencil grid. Lightly mark your board in 6-inch squares before starting. Erase as you go. Ensures full coverage and zero missed zones.
- The “two-finger lift” test. After your final pass, lift the sander off—then place just two fingers on the wood. If it feels warm? You pressed too long. Cool surface = proper technique.
- Never sand near edges unprotected. Tape 200-grit sandpaper to a credit card and hand-sand the last ½ inch before staining. Prevents roundover and tear-out.
- Break in new pads for 30 seconds. Run new sandpaper at low speed on scrap wood before touching your project—that removes static glue residue.
- Avoid this terrible tip: “Just use higher speed for faster results.” Truth? Max RPM on 80-grit creates heat distortion—not efficiency. Stick to medium speed for coarse grit, high only for 180+.
Real Results: How One DIYer Fixed 12 Feet of MDF Trim in Under 90 Minutes
Ravi from Austin built his own floating shelves but noticed visible seams and matte patches along the MDF trim after primer. His mistake? Starting with 150-grit and skipping grit progression. On our advice, he restarted with 120-grit, used a consistent 3-inch overlap, and stopped to vacuum dust between passes. Result: a perfectly uniform tooth for paint adhesion. He finished leveling, priming, and top-coating all 12 feet—including corners—with zero touch-ups. Total hands-on sanding time? 57 minutes. He documented the process on his WikiHow page, citing consistency over aggression as the breakthrough.
FAQs About Sanding Wood with a Handheld Sander
- What’s the difference between orbital and random-orbital sanders?
- Orbital sanders move in tight rectangles—great for flat surfaces but prone to swirls if misused. Random-orbital models add elliptical orbiting, which breaks up pattern and reduces visible marks. For sanding wood with a handheld sander, random-orbital is the professional standard.
- Can I sand painted wood with a handheld sander?
- Yes—but start at 120-grit and monitor heat. Painted layers insulate; excessive friction can blister or gum the paper. Always wear respiratory protection—old paint may contain lead.
- How often should I change sandpaper?
- Every 5–8 minutes on softwood, every 12–15 on hardwood—or immediately when paper feels less aggressive, leaves streaks, or smells burnt. Clogged paper = wasted time.
- Is it okay to sand across the grain?
- Only during initial leveling on very rough stock. Never do it during final prep. Cross-grain sanding raises fibers and makes grain inconsistent underneath stains.
- Why does my sander leave circular spots?
- Likely caused by stopping mid-pass or letting the sander rest while running. Always keep motion continuous. Also check if your pad has worn thin in one spot—a telltale sign of uneven pressure.
- Do I need a dust extractor?
- Yes—especially for health and longevity. The CDC states inhalation of wood dust is linked to nasal cancer and asthma. A vacuum attachment also doubles sanding efficiency by keeping grit exposed.
Bottom line: sanding wood with a handheld sander rewards respect—not recklessness. Every groove, scratch, and stain reveal tells a story about pressure, patience, and preparation. We’ve helped dozens of homeowners and contractors perfect this craft—not by chasing speed, but by mastering rhythm. If your orbital sander still leaves you second-guessing your next pass, we’d love to help you dial it in. Contact us for personalized tool setup guidance, or explore our full range of certified workshop solutions. Got questions about hardware specs? Our About Us page shares the engineering team behind every recommendation. And remember—we take your data seriously: review how we protect it in our Privacy Policy.
Sand like the grain breathes—and the finish will thank you.